Manage Store Grouping
Store Grouping Features Documentation
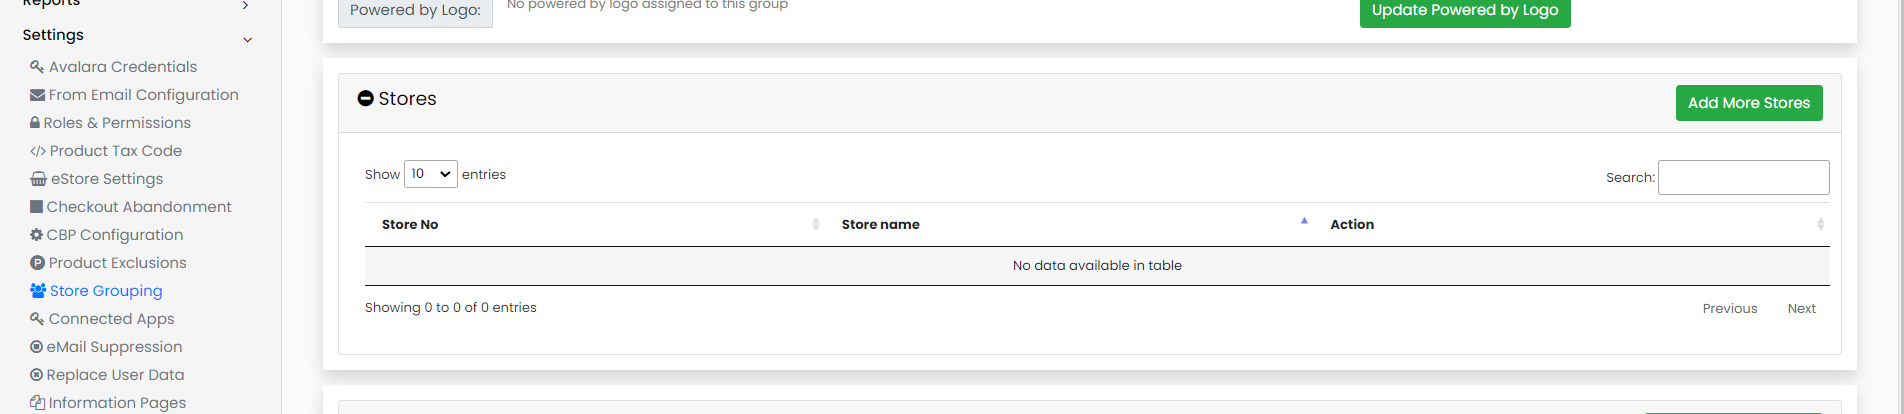
To locate Go to Admin -> Settings -> Store Grouping
The Store Grouping feature helps you manage and organize your stores efficiently by grouping them. This documentation will guide you through the different options available in the "Store Grouping" tabs.
Manage Groups Tab
Update Store Group Logo and Name
Store Group Logo: Here, you can upload or change the logo that represents this store group. This logo will be displayed in various places to identify the group.
Store Group Name: You can update the name of the store group to reflect any changes or rebranding.
Add a Store to the Group
Add Store: Use this option to include a new store in the current group. Select the store you want to add from the available list, and it will become part of the group.
Exclude Categories, Brands, SKUs, and Vendors
Exclude Categories: Choose specific product categories that should not be available in this group.
Exclude Brands: Select the brands you want to exclude from the group. This means products from these brands will not be available within this group.
Exclude SKUs: Exclude specific Products (SKUs) from the group. This ensures that certain products are not shown in this group.
Exclude Vendors: If there are particular vendors you want to exclude, you can select them here. This will remove products supplied by these vendors from the group.
Offer Page Image
Purpose: You can upload and display a full-sized image on your offer page. This feature is useful for showcasing promotions, banners, or any visual content that you want to highlight.
How to Use This Feature:
Simply upload the image you want to use. It will be displayed prominently on the offer page, making it easy for customers to see and engage with.
HTML Content
Custom HTML Design
This feature allows you to design your offer page using HTML code. It provides flexibility to create a customized page that matches your branding and design preferences.
Features:
Add Images: You can insert images into your HTML content to enhance visual appeal.
Text: Include any text you want to display, with full control fonts, sizes, and styles.
Links: Add hyperlinks to direct customers to specific URLs or other pages.
How to Use:
Enter or paste your HTML code into the provided editor.
Use HTML tags to format and style your offer page as desired.
Preview the page to ensure everything looks correct before publishing.
"Enroll Info In Store Grouping" Feature
The "Enroll Info In Store Grouping" feature allows users to update the content displayed in the Store Enrollment Form.
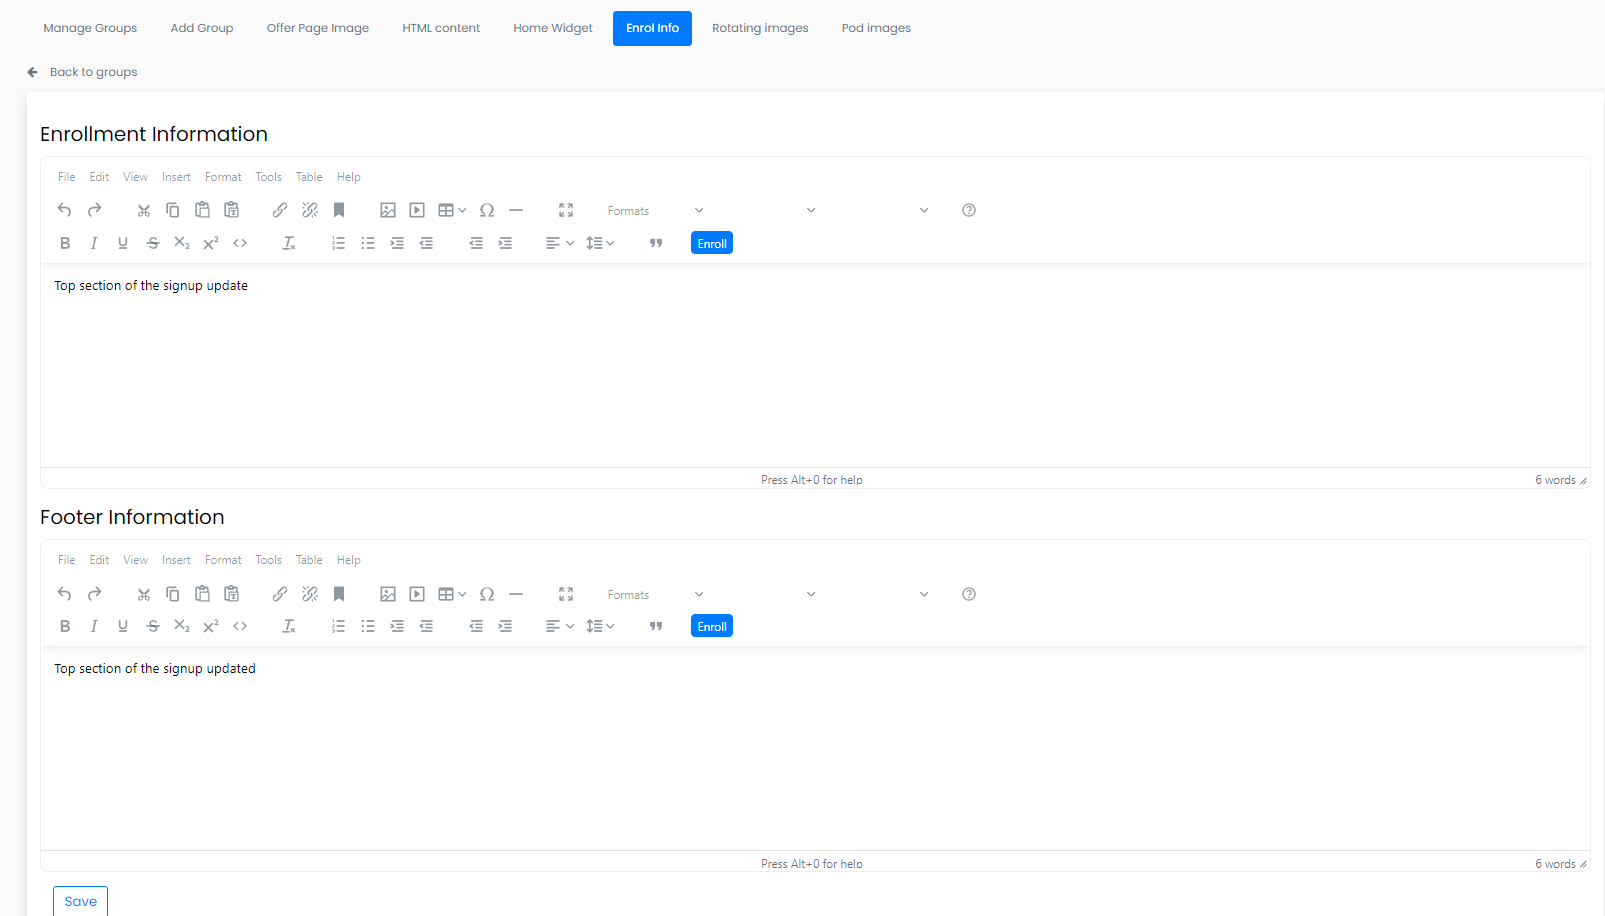
Main Enrollment Information: This is the primary section of the enrollment form where you can input or modify the core content that users will see when they access the form. This section typically contains details about the enrollment process.
Footer: This is the lower section of the enrollment form that generally includes supplementary information or instructions. You can customize this part to include additional notes, disclaimers texts, or any other relevant information.
Steps to Update:
In the "Enroll Info In Store Grouping" section, find the field labeled "Footer"
Modify the text to include any additional notes, legal disclaimers, or contact information.
Save your changes.
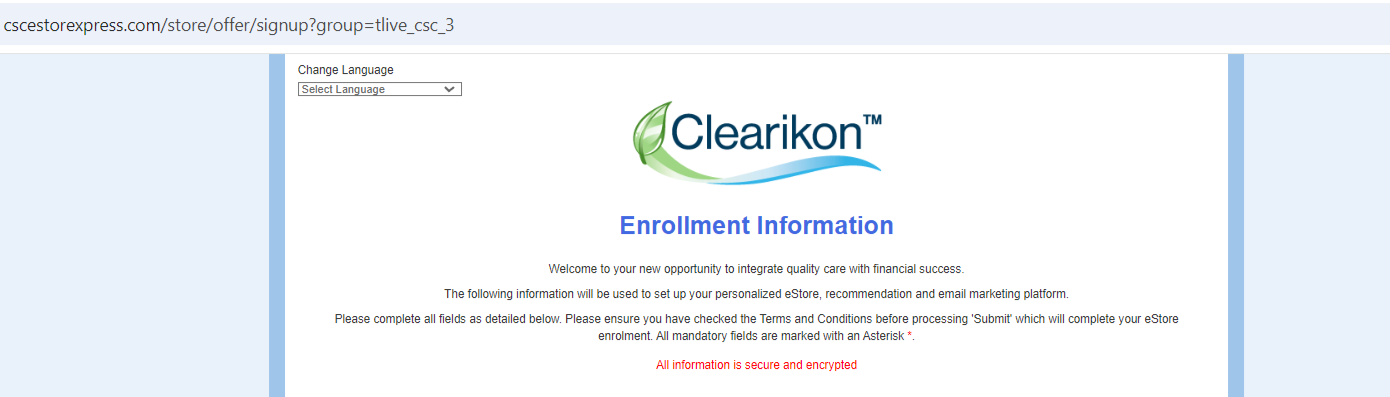
Main Enrollment Information Text Example in Form:
Store Grouping: Rotating Images and Pod Images
Rotating Images
Purpose: Manages the sequence of images in a store group.
Function: Allows images to rotate automatically or based on user interactions.
Pod Images
Purpose: Manages category images sequence within a store group.
Function: Controls the order and display of images for specific pods or sections.
For detailed information on configuring and using these features, refer to the respective sections in the documentation.